192.168.10.1 is a private IP address used for local networking. Some broadband routers, including network devices like Netgear, D-Link, TP-Link, PTCL, Aterm, WavLink, Comfast, TotoLink, and Pix-Link, often use it as the default gateway address. This allows users to access the router’s admin settings and make changes at http://192.168.10.1.
How to login to 192.168.10.1?
To login to 192.168.10.1, you need a device connected to your local network.
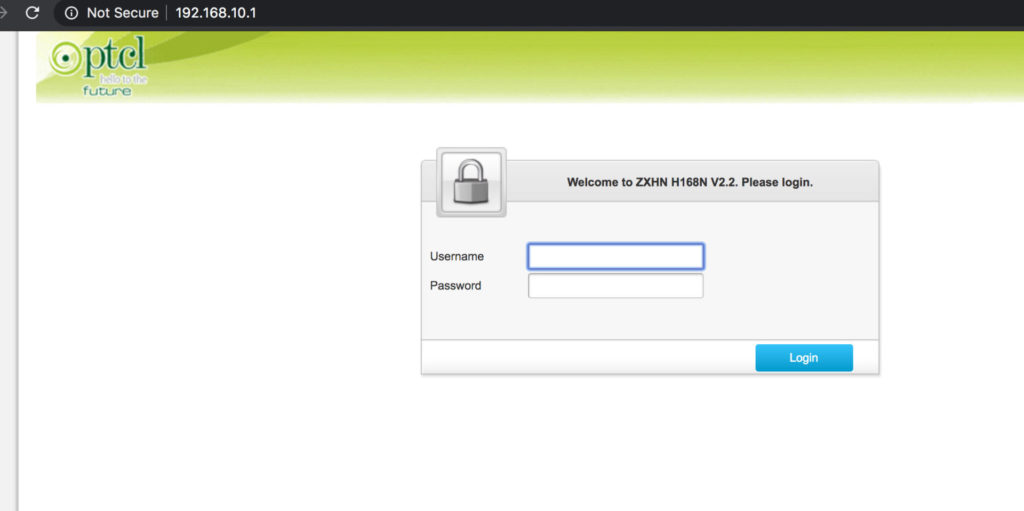
- Open any web browser on your device and type http://192.168.10.1 into the address bar.

- You will be directed to a login page and need to input your username and password.
- If the default login details have not been changed, they are usually the default username and password.
Default Username: admin
Default Password: admin or password - If you don’t know your login details, you can often find them in the router’s manual or on a sticker on the router itself.
- After entering your details, click ‘Login’ or ‘Enter’ to access your router’s settings.
From here, you can change your network’s settings, including the Wi-Fi password, the network name, and security settings.
How to change IP address 192.168.10.1 on your router?
To change the IP address 192.168.10.1 on your router, you must first log in to your router’s settings by following the steps mentioned above.
- Once logged in, look for a section labeled ‘LAN’ or ‘Network Settings’, usually found under ‘Settings’ or ‘Setup’.
- In this section, you will see an option to change your router’s IP address.
- Input the new IP address you want to use and ensure it is within the private IP range. The private IP range is typically from 192.168.0.0 to 192.168.255.255.
- Once you have entered the new IP address, click ‘Save’ or ‘Apply’ to save the changes.
- Your router may need to reboot for the changes to take effect.
Note that changing your router’s IP address can cause network issues if not done correctly. It’s recommended that you only change it if necessary and write down the old IP address in case you need to revert to it.
How to change WiFi password and SSID on 192.168.10.1?
To change your Wi-Fi password and network name (SSID) on 192.168.10.1, follow the earlier steps to log in to your router’s settings.
- Once logged in, look for a section named ‘Wireless’ or ‘Wireless Settings’. Here, you will see fields for ‘Network Name (SSID)’ and ‘Password’.
- In the ‘Network Name (SSID)’ field, enter your desired network name and password in the ‘Password’ field.
- A strong, unique password is recommended to ensure your network’s security. After entering your new network name and password, click ‘Save’ or ‘Apply’ to save the changes.
- Your router may need to restart for these changes to take effect.
After the router restarts, you must reconnect all your devices to the WiFi network using the new SSID and password.
Troubleshooting login to 192.168.10.1
There could be several reasons you’re having trouble logging in to 192.168.10.1.
- First, ensure you’re typing the IP address accurately without any typos.
- Check whether your router’s default IP is 192.168.1.1 or 192.168.0.1.
- Also, make sure your device is connected to your local network.
- If you’re still unable to connect, there could be an issue with your network or router.
- Try rebooting your router and reconnecting.
- If you’ve forgotten your login details and the default credentials aren’t working, you may need to reset your router to its factory settings.
This can usually be done by pressing a small reset button on the router itself, but keep in mind that this will erase all your settings, and you’ll need to set up your network again.
If you’re still having trouble, contact your Internet Service Provider or the router’s manufacturer for further assistance.